The experimentation continues……..On the second week of my 4 week stay in Lauris, France, I finally got the chance to meet Michel Garcia! We spent 4 days together and talked so much! I did not think it was possible. He is such an intelligent and authentic person. So open to giving information and feedback. I was truly inspired and we actually started making plans for future collaborations. I am honored to be working him and more details will come as spring 2018 approaches.

Just a little background on Michel to help you understand why I traveled so far to work with him. He is mainly a teacher and innovator in the natural dye world. Not only did he establish an association and create a dye garden, but he has been writing his techniques and teaching from the very beginning (mid 90’s) One of the things he has developed that is spreading like wildfire is his natural indigo vat. In the early days of indigo dyeing; lets say 3000 BC; the process was quite involved. The reason for this is that the leaf of the indigo – indigofera- is not soluble in water and so various methods have been developed in order to take the oxygen out of the water so the molecules will impart color on the textile. One common method is fermentation with urine. There are several things in nature that will reduce the vat such as sugars, ferrous sulfate….. Michel conducted experiments with this reduction and found he could combine natural elements into one vat and create a long lasting indigo dye that will be ready to use immediately and even better if left for a few days. One of the important factors is the amount of each element to be mixed together so they can work in unison to reduce and stimulate the dye vat.

I have heard of this natural sugar vat for years and I even purchased Michel’s video to understand more but I had a hard time getting it to revive. So I went back to using my thiox vat in the mean time. Sure I could have taken a workshop from someone who learned from someone who learned from someone who learned from Michel but that is not my style. I believe in going straight to the master( if you can) or the next best thing. He has a complete understanding of the process and is always developing new ways to tweak it. I felt like I was well informed and with practice I someday will feel prepared to teach his method. The one misconception about teaching that I have noticed is it is not just giving out information but giving information that you fully understand and have spent years to develop and cultivate that understanding.
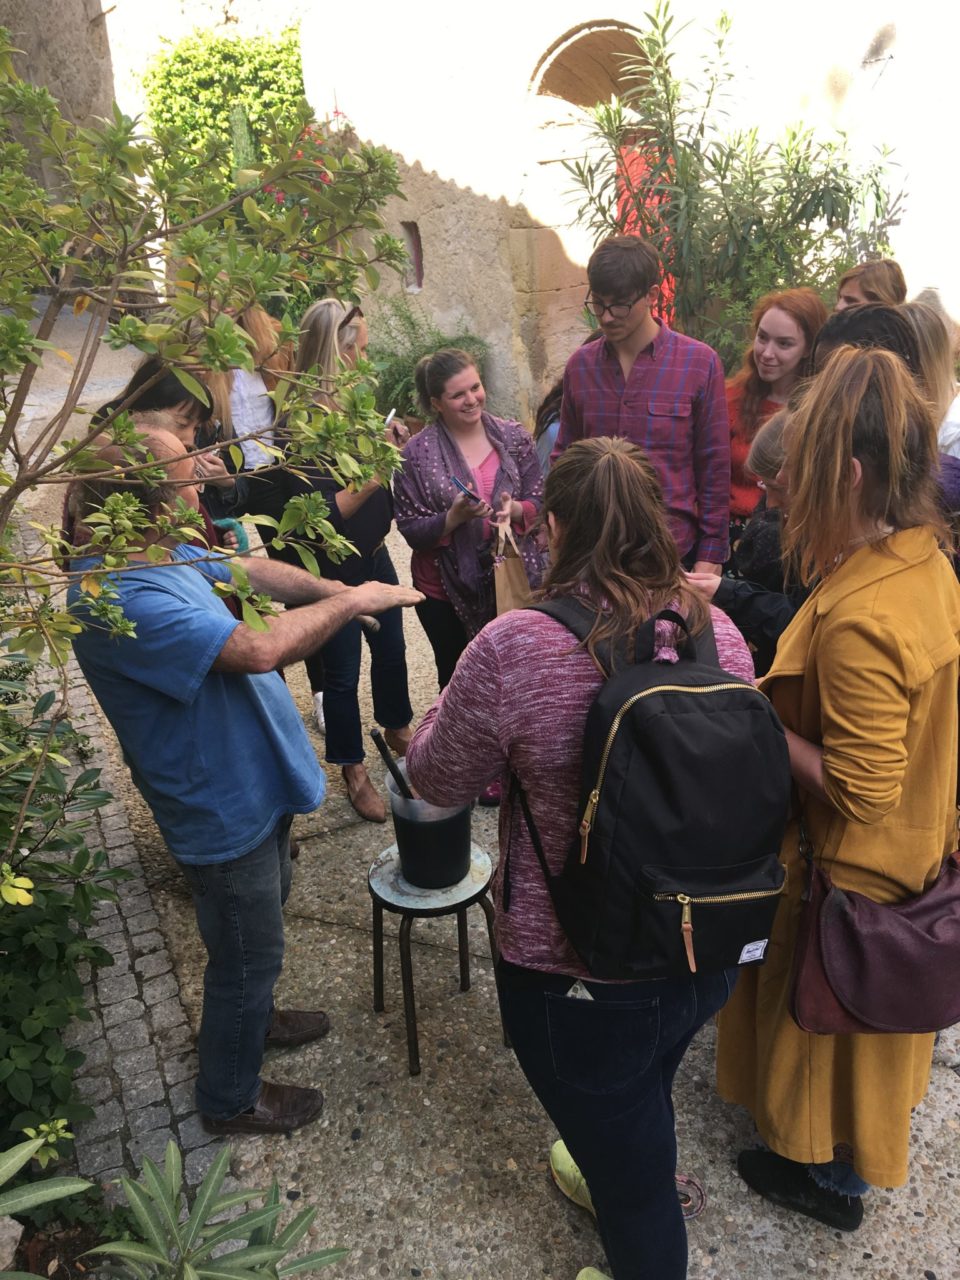
There were students that came to Lauris to see Michel and the garden from the Savannah School of Art and Design in Lacoste while I was meeting with him. He asked if I would assist him in doing a short indigo demo at his private studio. It was thrilling to watch him work and to see the reaction from all the students.
We created indigo paste from Henna (ground indigo leaves) which could be later used for the creating of a vat or printing.
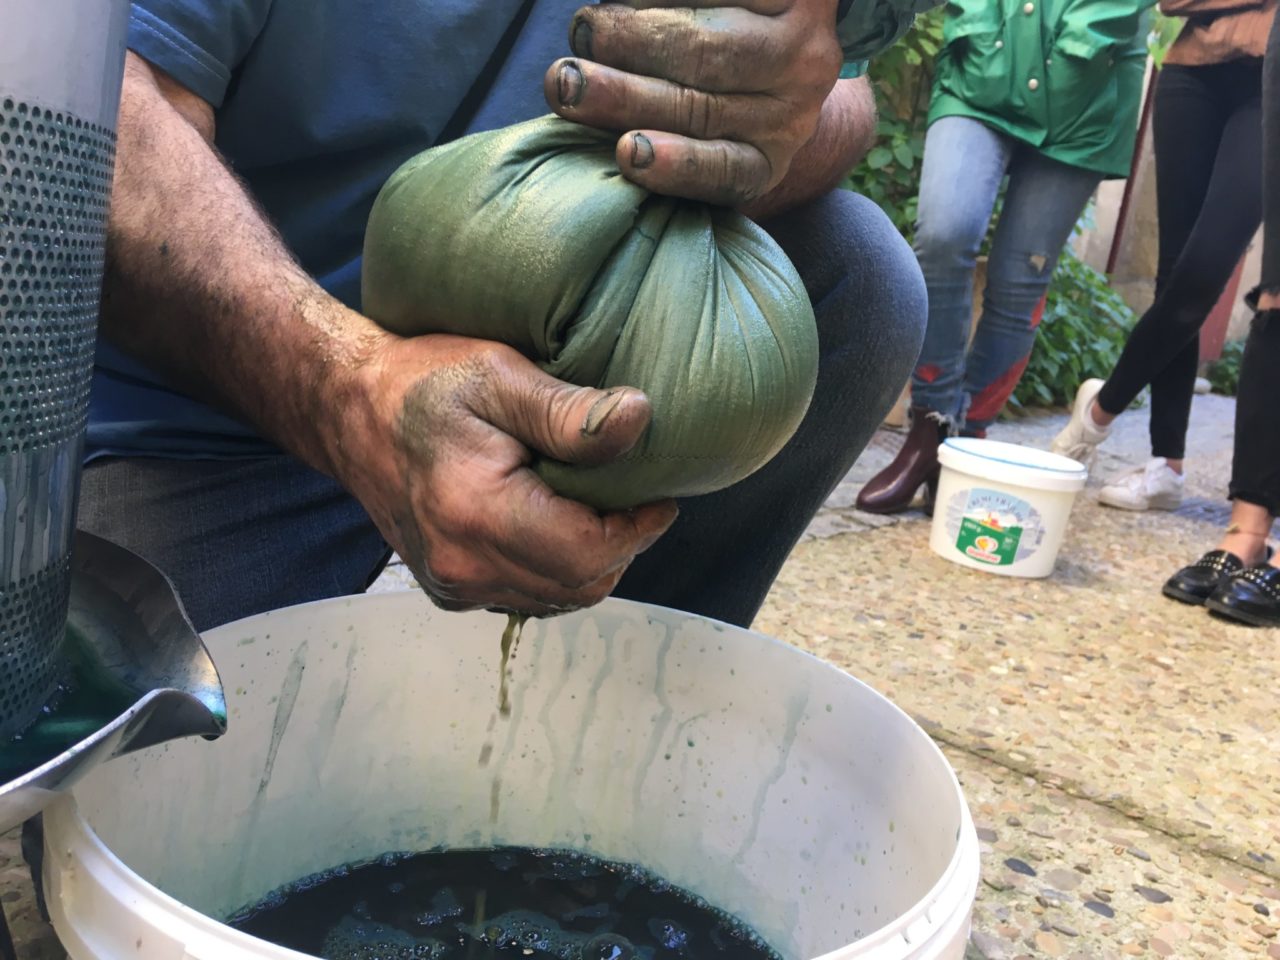


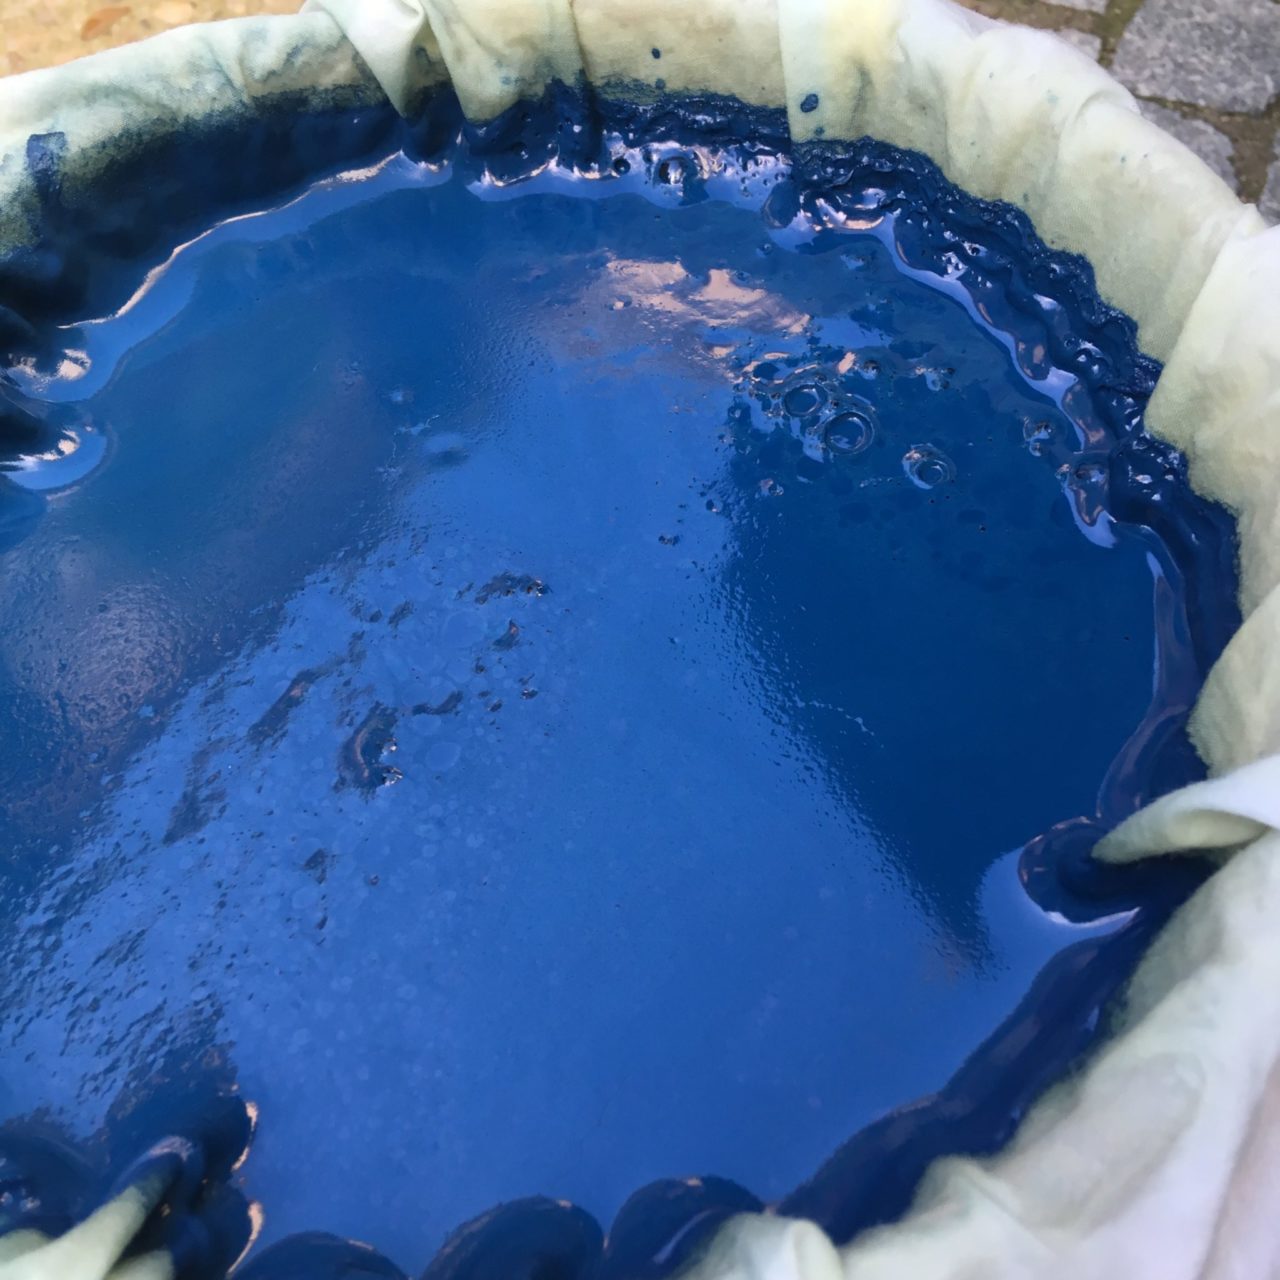
Then he made a vat for each student to dip a small cotton sample or whatever pre made textile they brought with them.
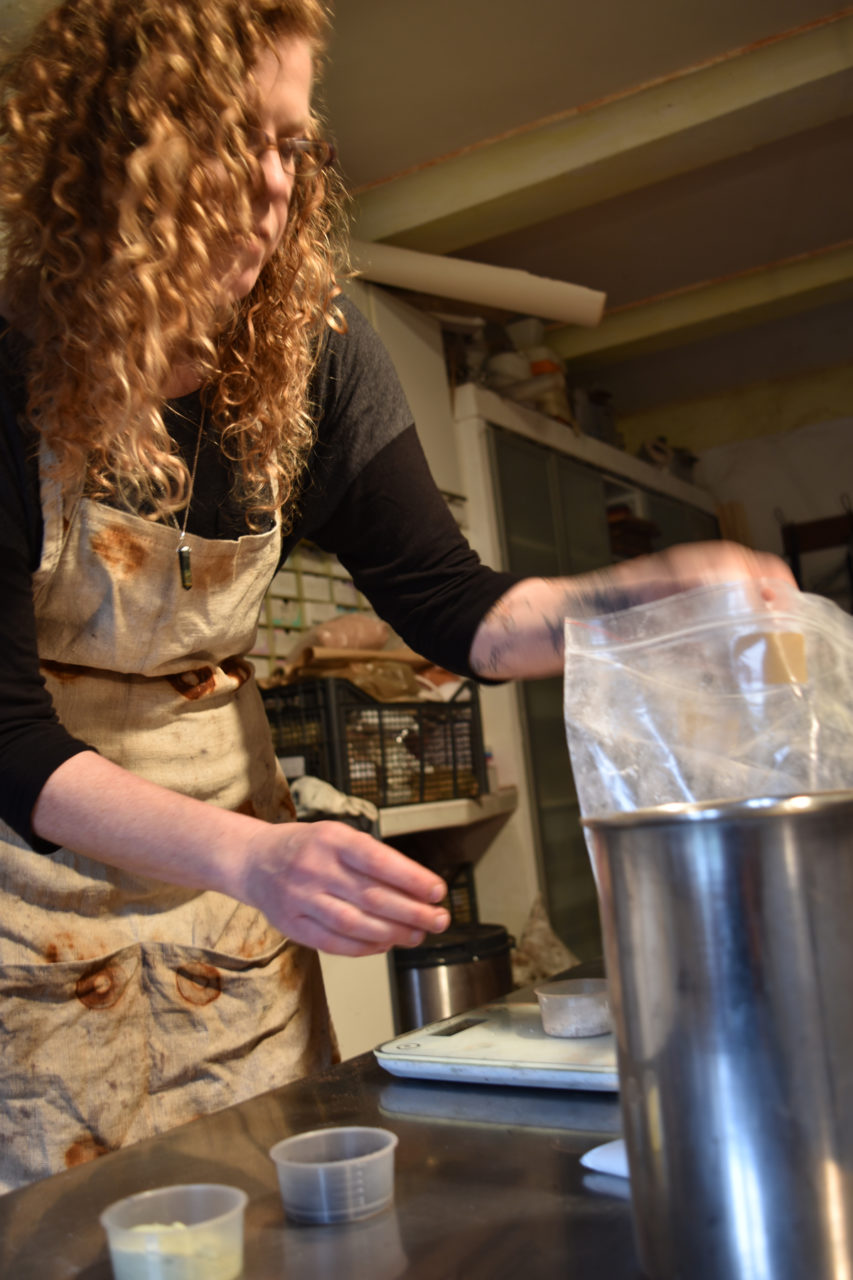
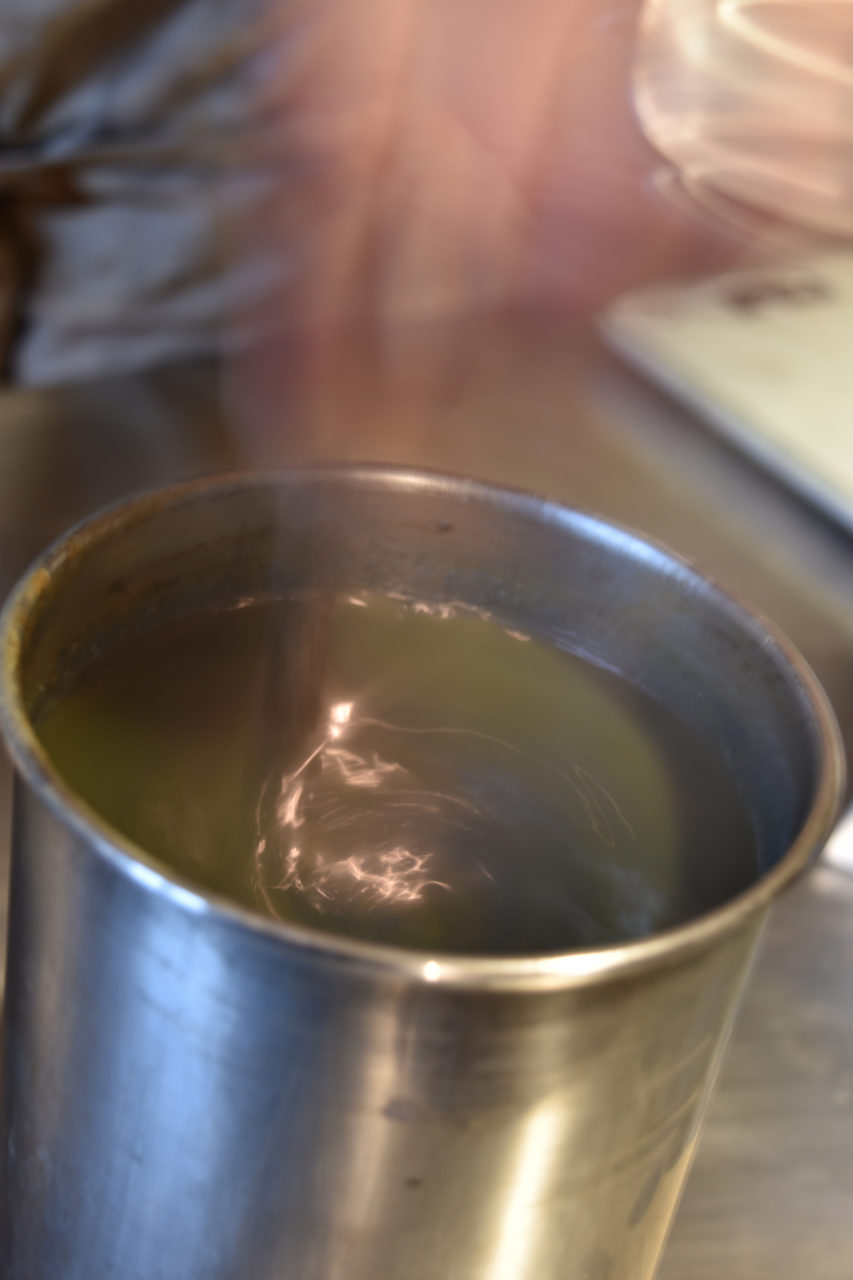
Now it was my turn to create a vat and see how it works with my own techniques and mordant combos. One thing to note is that I mostly work with silk and I did bring some with me to play with. It seems most are using cotton or wool for indigo. But for me silk is my go to.
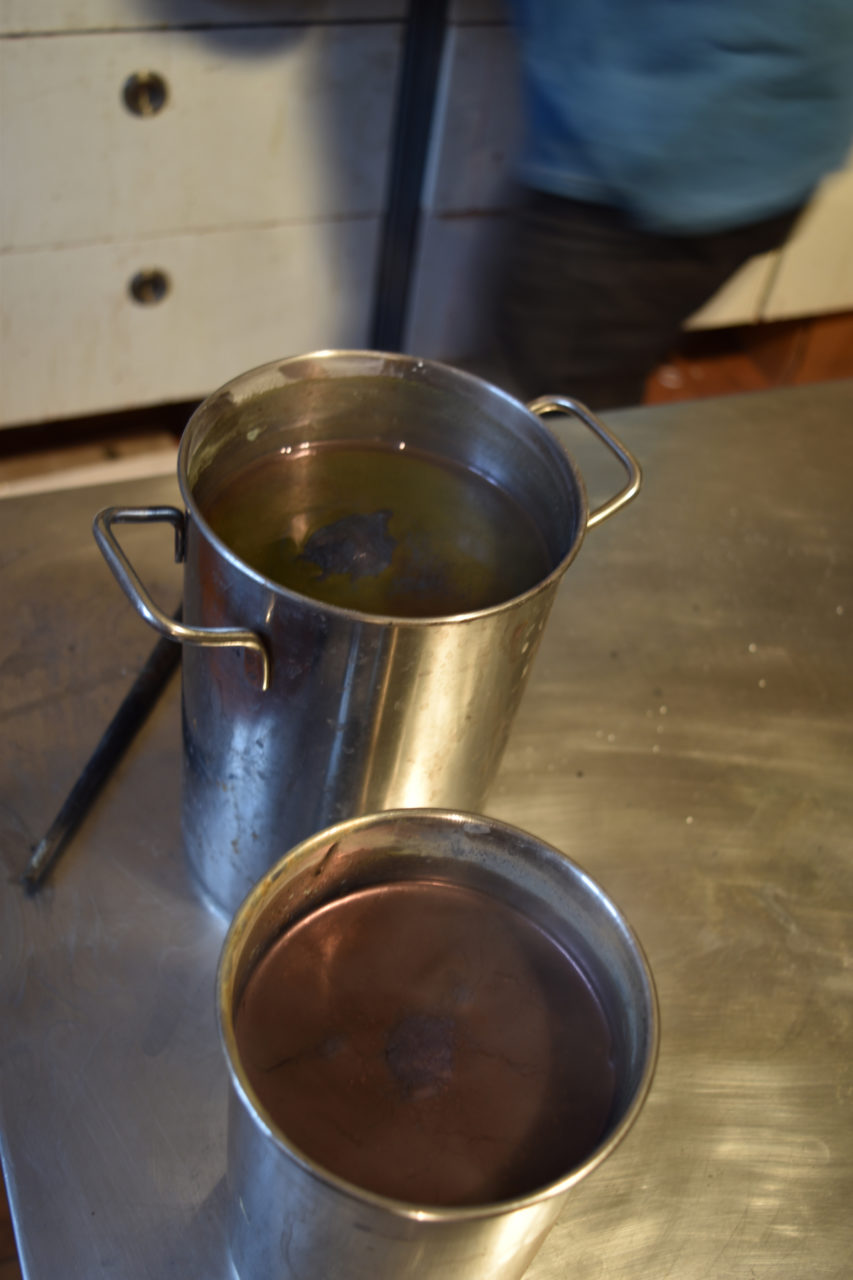
I wanted to create and compare two vats using fructose and ferrous sulfate. Of course ferrous is my go to as well so I was drawn to it but overall the fructose is the most versatile. I will and am conducting more experiments in my studio as I write this.
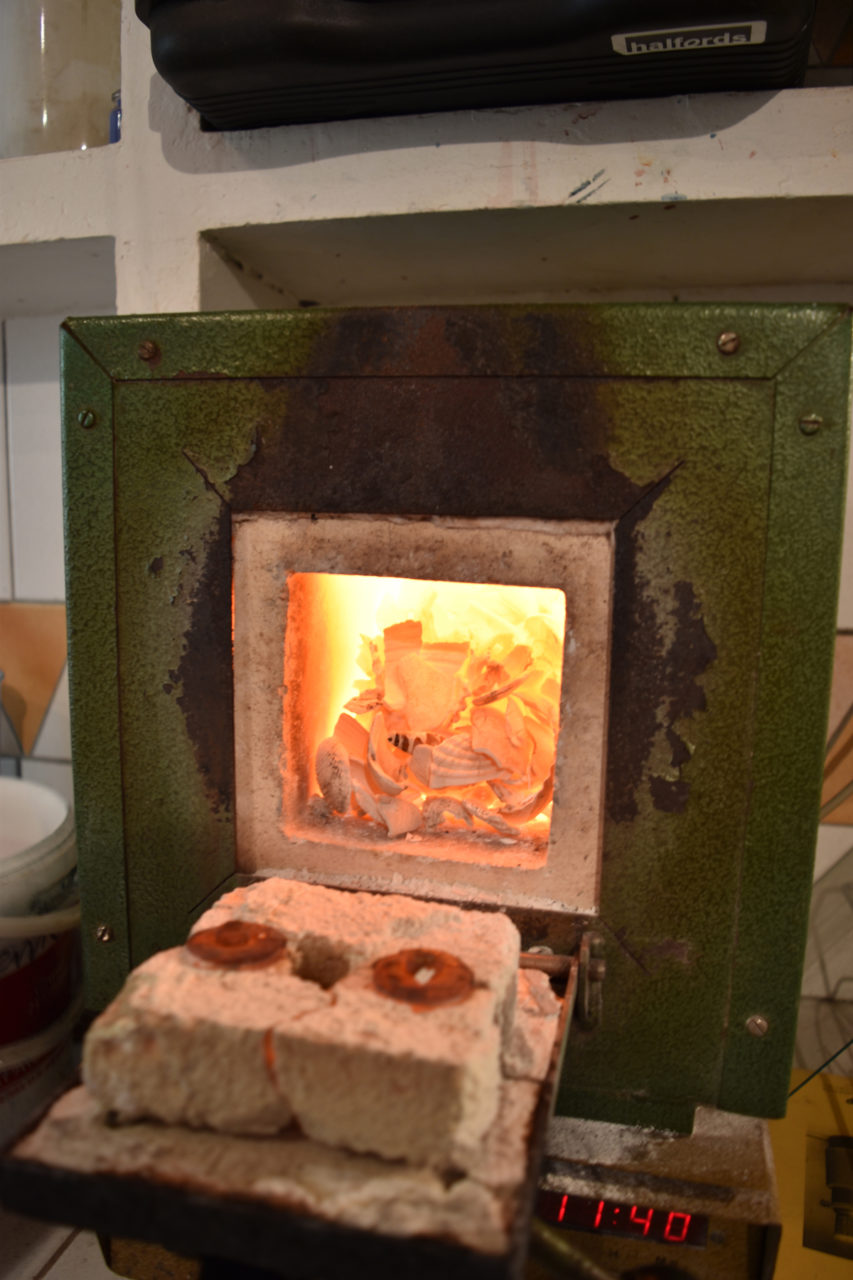
One thing Michel uses in the vat is Lime that comes from shells which have been cooked and transformed into calcium hydroxide. I loved this idea. I live so close to the ocean and there is a vast supply of shells to be collected. Especially oyster shells, there are mountains of them.
After my vats were made Michel, showed me one of his inventions that he sells to artist. It is pre made indigo shades that can be used directly as a dye for printing or immersion. The other process he showed me was printing with indigo paste directly. The paste we used was from the demo earlier with the students. We decided to make an indigo contract with our hand prints.

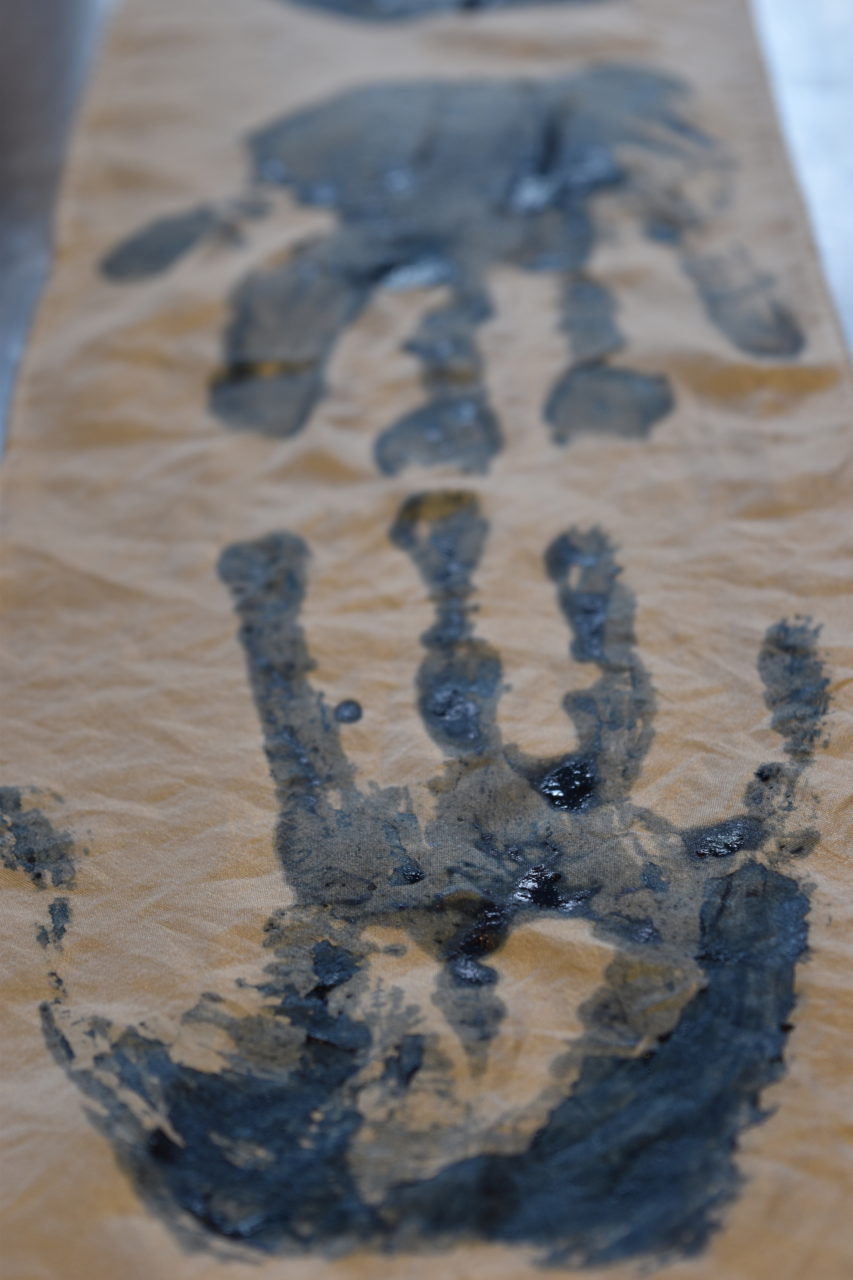
This was wonderful! I now had about a week left and in that time I had one more demo to present and studio time to create from the things I learned thus far.
The garden was having their season opening and they asked me to do a demonstration of whatever I wanted. So guess what I did? Tannin and Iron……..As I was preparing the night before I did some samples to make sure everything was as I planned and it was not. Oh no!! After talking with Michel I realized that the water in France was so rich in calcium that it was not giving me the same results as when I work at home. So to remedy this I used purified water and all was back in alignment.


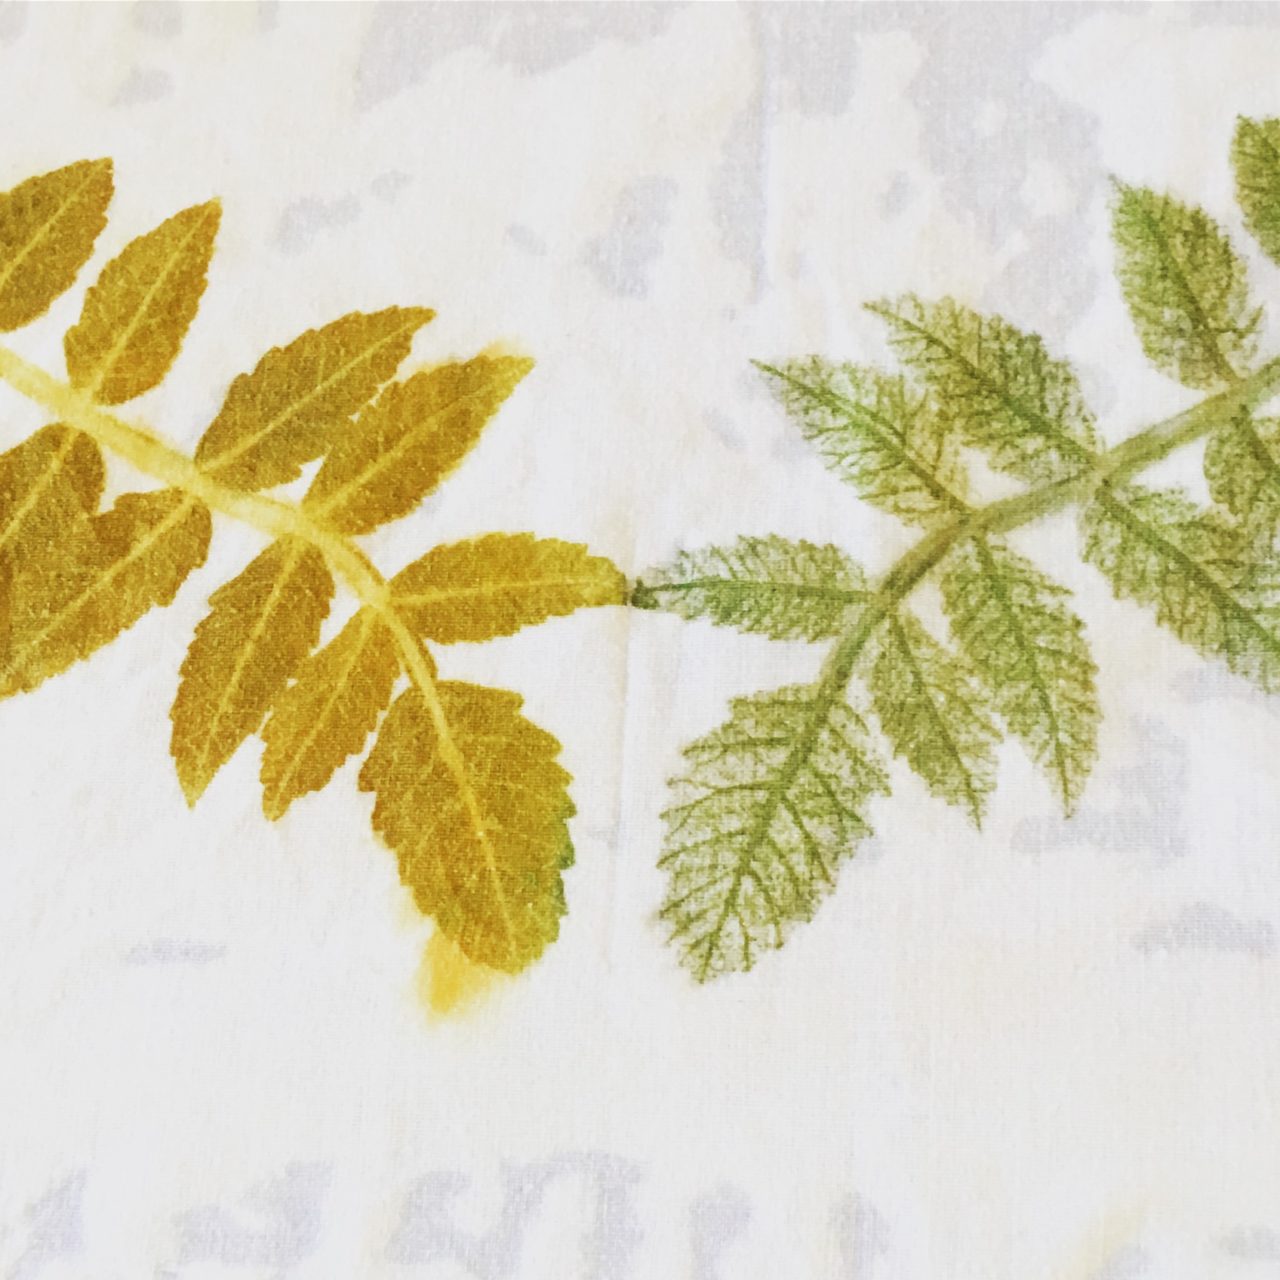
I had so much fun doing this. Everyone was nice and wanted to make the perfect sample. I of course has someone to translate for me but in general I just said….’Tannin (point) Fer (point) and with hand motions illustrated the process. Simple and effective. The one fun thing that everyone liked as well was the sumac leaves that we collected (which are the tannin) were pounded between cotton until a light outline appeared. I then dipped this in the Ferrous bath and the result was the black/ brown plant print you see above. We took this further when Michel showed up and with the same sumac print we soaked in lime and titanium.
So with the rest of my studio time I just played with everything that I had at my disposal. I made several scarves but this was my favorite.
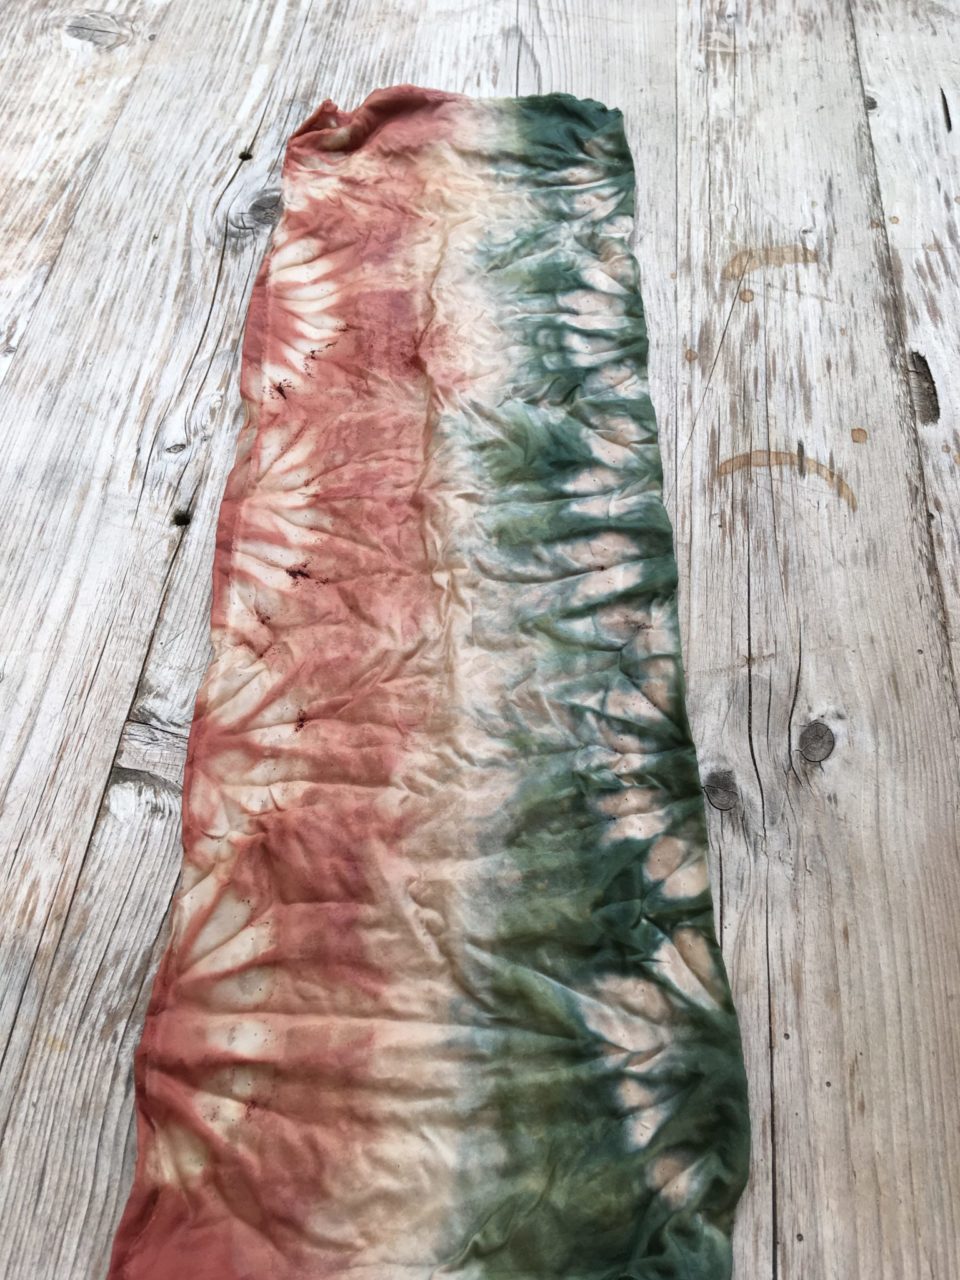
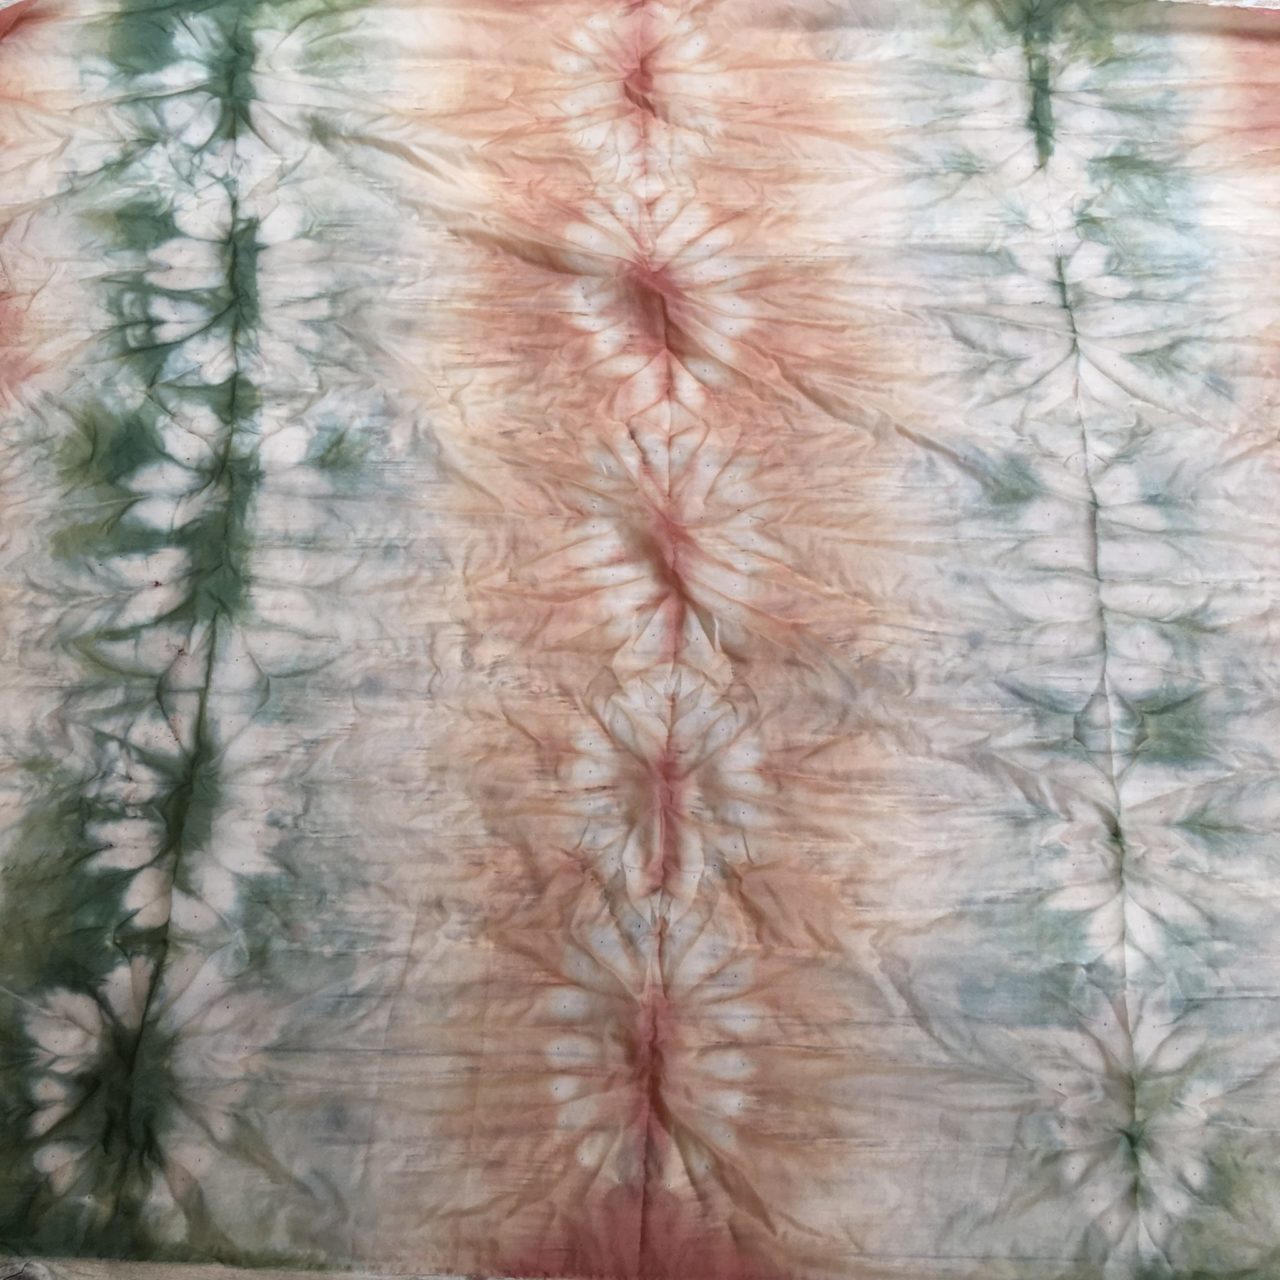
For this I did Karamatsu shibori on a tannin dyed silk. Then I dipped half in madder root and half in indigo but leaving a small line of undipped cloth. Voila!!